 VovaBlocks
How to Add a Countdown Timer in WordPress
Learn how to add a fixed-date countdown timer in WordPress with the free VovaBlocks plugin or a custom-coded solution.
Vova Anokhin9 min read
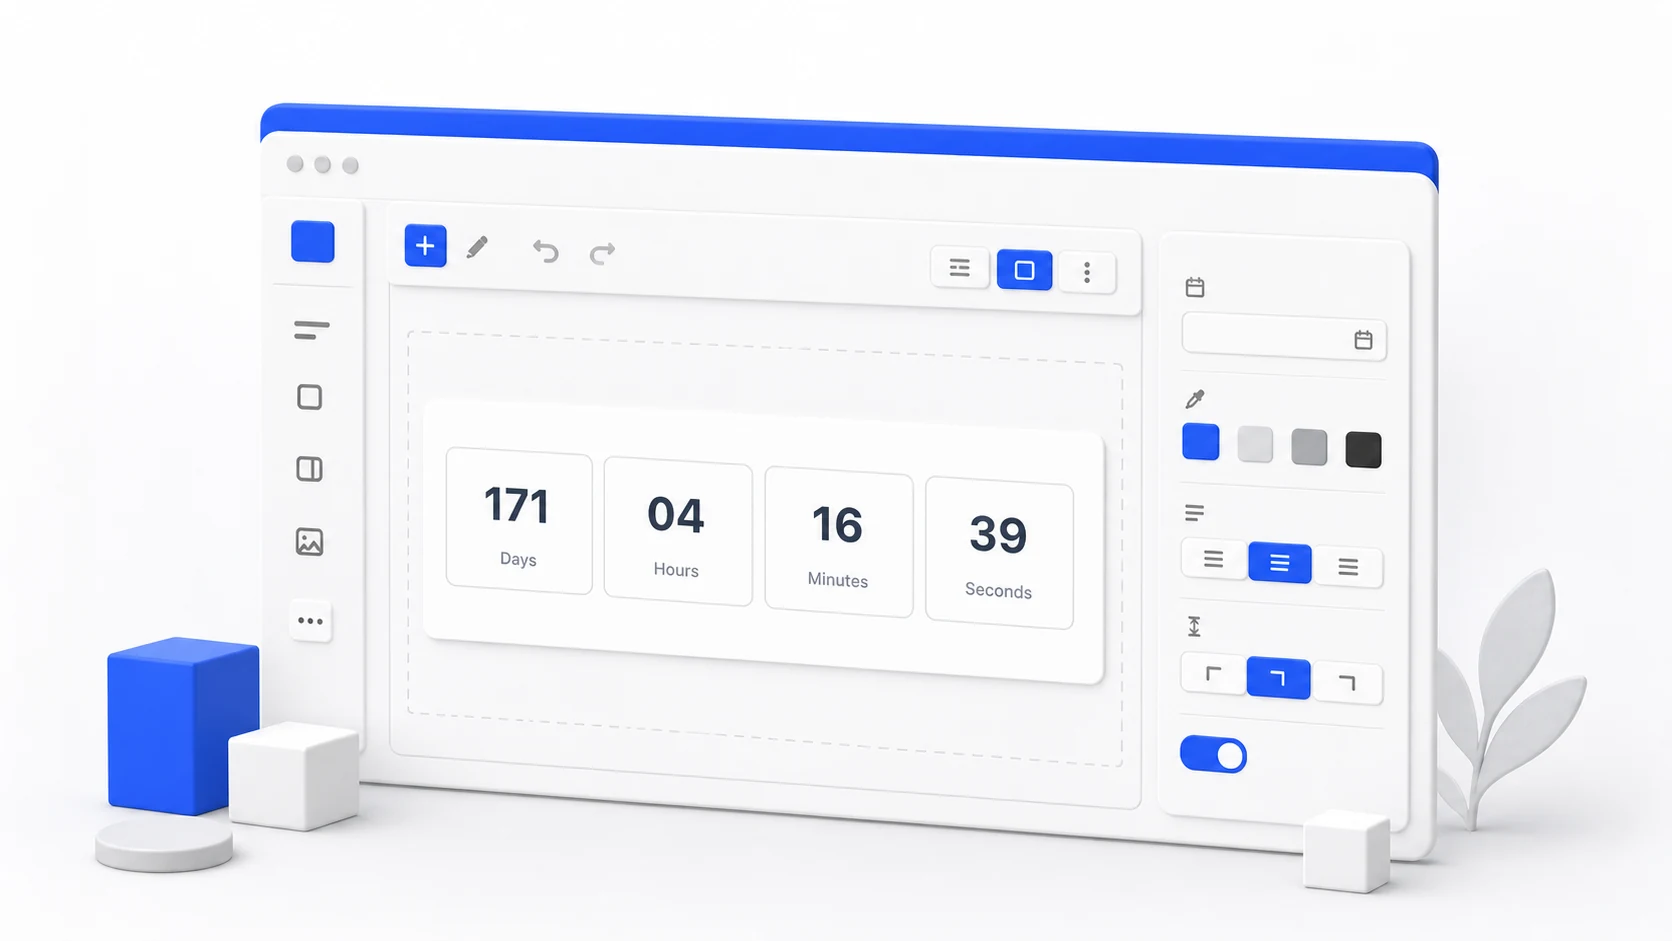
Table of contents
A countdown timer shows the time remaining before a real deadline. It can tell visitors when registration closes, an event begins, a launch price ends, or a limited application window shuts.
The important word is real. A timer is useful when it helps someone make a time-sensitive decision. A countdown that quietly resets or reaches zero without changing anything can make an otherwise trustworthy page feel manipulative.
WordPress does not include a dedicated Countdown block in its standard block collection. You can still add one with a block plugin or build a custom solution. This guide covers both approaches, starting with the free Countdown Timer block in VovaBlocks.
Decide what should happen at zero
Before choosing a plugin or styling the timer, write down the deadline and its consequence.
For example:
Registration closes on September 18 at 5:00 p.m. After that time, the registration form will no longer accept entries.
That sentence answers the questions a timer cannot answer by itself. Visitors know what the deadline affects, when it occurs, and what changes afterward.
A countdown works well for:
- Event registration and webinar start times
- Product launches and scheduled releases
- Limited application or booking windows
- Genuine sale or introductory-price deadlines
- Maintenance windows and coming-soon pages
Avoid using one when there is no meaningful deadline. If an offer will remain exactly the same after the timer ends, replace the countdown with something more useful, such as delivery times, availability, cancellation terms, or a clear call to action.
Also decide which time zone applies. “Ends at midnight” is ambiguous on a site with visitors in several regions. Write the time zone beside the offer whenever the audience could interpret the deadline differently.
Method 1: use the free VovaBlocks Countdown Timer
VovaBlocks adds a fixed-date Countdown Timer to the native WordPress block editor. It is included in VovaBlocks Free, so you do not need a Pro license to use it.
This method is a good fit when editors should be able to choose the deadline, change the expired message, and adjust the surrounding design without maintaining JavaScript.
1. Install and activate VovaBlocks
In the WordPress dashboard, go to Plugins → Add New Plugin and search for “VovaBlocks.” Install the plugin and activate it.
You can also download the official plugin from WordPress.org and upload its ZIP file from the same screen.
VovaBlocks extends the standard block editor instead of adding a separate page builder. If the Countdown Timer has been disabled, open VovaBlocks → Settings, enable the block, and return to the page editor.
2. Insert the Countdown Timer block
Open the page or post where the deadline belongs. Select the block inserter, search for Countdown Timer, and add the block from the VovaBlocks category.
Place the timer close to the offer or event it controls. A countdown at the top of a long page can lose its meaning if the price, form, or registration details appear much later. Add a Heading or Paragraph block nearby to explain what the timer is counting down to.
For example:
Early registration closes Friday
Complete your registration before 5:00 p.m. Eastern Time to receive the introductory price.
The copy gives context; the timer makes the remaining time easy to scan.
3. Set the target date and time
Select the Countdown Timer block and open its settings sidebar. In the Timer panel, choose the Target date.
Set the exact date and time for the deadline. The editor preview will update to show the remaining days, hours, minutes, and seconds.
Before publishing, compare the selected value with the deadline written in your page copy. If the page says “Friday at 5:00 p.m. ET,” the block, checkout settings, registration form, and any scheduled price change should all use the same moment.
For an audience in more than one time zone, include the time zone in visible text near the timer. Then open the published page on another device or browser and confirm that the displayed remaining time matches the intended deadline.
4. Write the expired message
Use the Expired message field to decide what replaces the timer when it reaches zero.
The default message is:
This offer has expired.
A more specific message is usually better:
- Registration is now closed.
- The event has started.
- Early-bird pricing has ended.
- Applications for this round are closed.
The block replaces the countdown with this message after the target time. It does not, by itself, close a form, change a WooCommerce price, remove a coupon, or redirect the visitor. Configure those business rules in the system that controls the offer, and use the timer to communicate the same deadline.
This separation matters. Hiding a timer is not the same as enforcing an expiry. A visitor may have an older page open, JavaScript can fail, and a checkout URL can be shared directly. The authoritative deadline belongs in the registration, ecommerce, booking, or access system.
5. Style the timer
Use the block's standard WordPress controls to match it to the page. Depending on the active theme, you can adjust:
- Text and background colors
- Margin and padding
- Wide or full-width alignment
Keep the numbers prominent and the labels readable. Strong contrast is more important than decoration, especially when the timer sits inside a colored section.
Leave enough width for all four units. On a narrow layout, check that Days, Hours, Minutes, and Seconds do not become cramped or overflow. If the surrounding page uses several columns, the timer will usually be easier to read in a wider Group block below or above the columns.
6. Preview the complete deadline flow
Preview the published page rather than relying only on the editor canvas. Check the timer on both desktop and mobile widths.
Test the complete experience:
- Confirm that the remaining time is correct.
- Make sure the page states what happens at zero.
- Check the deadline and time zone in every related system.
- Verify that the expired message still makes sense without the timer.
- Test the form, button, coupon, price, or registration rule separately.
If possible, test the expired state on a staging page with a target time a few minutes in the future. Watching the timer reach zero is the simplest way to catch an unclear message or a mismatch between the countdown and the actual offer.
When to choose this method
The VovaBlocks Countdown Timer is useful when:
- You want to stay in the native WordPress block editor.
- Non-technical editors need to change the deadline.
- A fixed date and time define the offer or event.
- The timer should show days, hours, minutes, and seconds.
- A text message is enough when the countdown expires.
The tradeoff is plugin dependency. The timer's live behavior and styles require VovaBlocks to remain active. Review pages that use the block before deactivating the plugin.
Method 2: build a custom countdown timer
A developer can build a countdown with HTML for the timer structure, CSS for the layout, and JavaScript for calculating and updating the remaining time.
The script normally:
- Reads a target timestamp.
- Subtracts the current time.
- Converts the difference into days, hours, minutes, and seconds.
- Updates the visible values at a regular interval.
- Stops at zero and displays the expired state.
Store the target as a complete timestamp with an explicit time-zone offset, such as:
2026-09-18T17:00:00-04:00
An explicit offset prevents the same date and time from being interpreted differently by visitors in different regions.
Do not treat this as only a copy-and-paste JavaScript task. A production implementation also needs to handle invalid or past dates, prevent negative values, stop unnecessary updates, preserve a useful no-script fallback, and remain understandable to assistive technology. Repeatedly announcing every one-second change can be disruptive, so test the live region behavior with a screen reader.
The safest WordPress implementation is a small custom plugin or purpose-built block that loads its JavaScript and CSS through WordPress. The block metadata documentation supports a front-end viewScript specifically for behavior that runs when a block appears on the site.
A Custom HTML block can hold the timer markup, but script handling depends on the WordPress version and the editor's permissions. WordPress may remove disallowed tags for users who do not have the required capability, as described in the official Custom HTML block documentation. A theme or plugin also gives you one maintainable implementation instead of separate copies of a script inside individual posts.
When to choose custom development
A custom timer is appropriate when:
- A developer maintains the site.
- The deadline comes from an event, product, or booking record.
- The timer needs behavior beyond an expired text message.
- The component must follow a unique design system.
- You need automated tests around dates, time zones, and expiry rules.
Custom code offers the most control, but it also creates responsibility for security, accessibility, browser testing, performance, and future maintenance.
VovaBlocks or custom code?
| Approach | Best for | Main advantage | Main tradeoff |
|---|---|---|---|
| VovaBlocks Free | Fixed deadlines managed by content editors | Fast setup in the native block editor | Requires the plugin and uses a text expired state |
| Custom plugin or block | Data-driven deadlines and specialized behavior | Complete control over logic and presentation | Requires development and ongoing testing |
For a normal event, launch, or registration deadline, the VovaBlocks block is the simpler choice. Build a custom solution when the timer must connect to business data or perform behavior that a fixed-date block does not provide.
Common countdown timer mistakes
The technical setup is only half of the job. Review these common mistakes before publishing:
- Creating false urgency. Do not reset a deadline simply because a visitor did not convert.
- Omitting the time zone. A local time without a zone can create different expectations.
- Letting the timer enforce the offer. Close the form, coupon, or price in the system that controls it.
- Using a vague expired message. Tell visitors what happened and, when useful, what they can do next.
- Placing the timer without context. Explain what reaches zero and what changes afterward.
- Ignoring mobile layouts. Four units need enough room to remain readable.
- Testing only the running state. The page must still make sense after expiry.
- Leaving old campaign copy live. Update the surrounding heading, buttons, and offer details when the deadline passes.
You can pair the timer with a focused action, but the relationship should be explicit. The guide to creating a call to action in WordPress explains how to write and place the accompanying button. For a complete campaign page, see the walkthrough on building a landing page with Gutenberg.
A good countdown does not manufacture pressure. It turns a genuine deadline into useful information.
If you need a fixed-date timer that editors can add without code, install VovaBlocks Free, insert the Countdown Timer block, set the target date, and test both the running and expired states before publishing.