 VovaBlocks
How to Add a Table of Contents in WordPress
Learn how to create anchor links by hand or add an automatic table of contents with the free VovaBlocks plugin.
Vova Anokhin5 min read
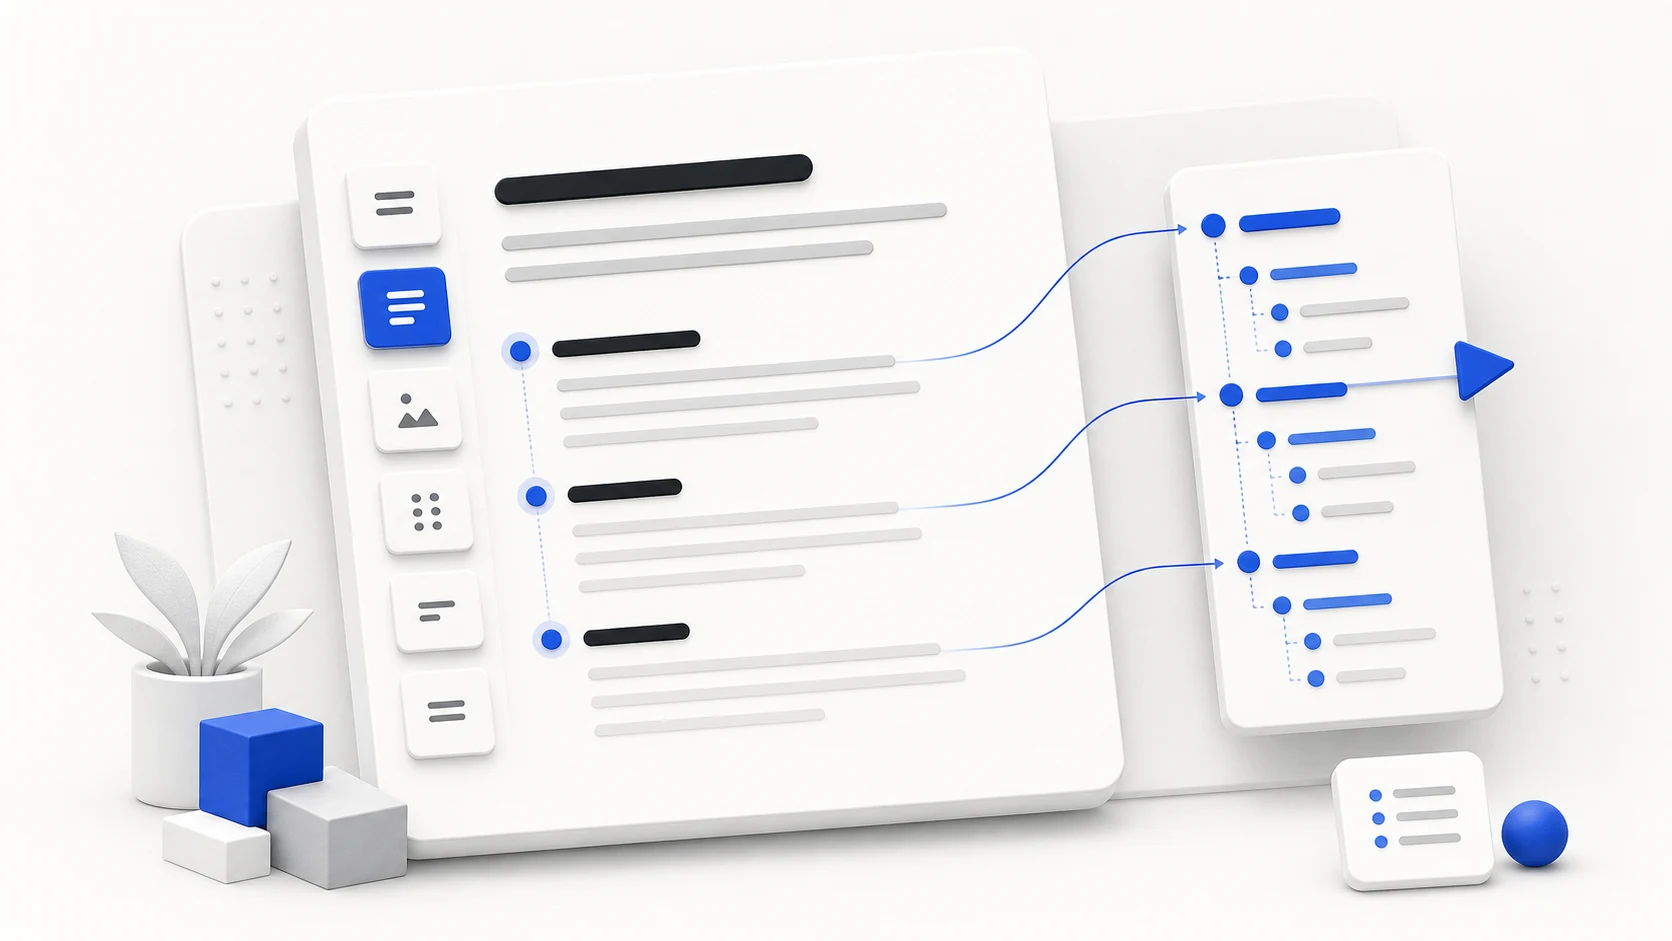
Table of contents
A table of contents gives readers a quick map of a long post. Instead of scrolling to find one specific answer, they can see the structure of the article and jump directly to the section they need.
WordPress lets you build this navigation manually with HTML anchors. That works well for a short page that rarely changes. For longer articles, the free Table of Contents block in VovaBlocks can generate the navigation from your headings and save the repetitive setup.
This guide walks through both methods.
Start with a clear heading structure
A table of contents is only as useful as the headings behind it. Before creating any links, review the outline of your post:
- Use the page or post title as the main H1.
- Use H2 headings for the main sections.
- Use H3 headings for topics that belong inside an H2 section.
- Avoid choosing a heading level only because of its visual size.
WordPress shows the heading structure in the Document Overview. This is a useful place to spot a skipped level or a section that needs a clearer title.
Method 1: create a table of contents manually
The manual method uses WordPress page jumps. You add a unique HTML anchor to each destination heading, then create a list of links that points to those anchors.
1. Add an HTML anchor to every heading
Select the first Heading block that should appear in your table of contents. In the block settings sidebar, open Advanced and find the HTML Anchor field.
Enter a short, unique value. For a section named “Choose a plugin,” a suitable anchor would be:
choose-a-plugin
Do not include the # character in the HTML Anchor field. Keep anchors lowercase, replace spaces with hyphens, and make sure every anchor on the page is unique. Repeat this step for the other headings you want to include.
The official WordPress page jumps guide explains the same anchor-and-link pattern in more detail.
2. Build the linked list
Add a List block near the beginning of the article. Write the text for each section, select the first list item, and use the Link control.
This time, enter the matching anchor with a # at the beginning:
#choose-a-plugin
Repeat this for every item in the list. If the article has subsections, use an indented list to reflect the H2 and H3 hierarchy.
3. Preview every link
Open the post preview and click each item. Every link should move the page to the intended heading. If a link does nothing, compare the link and the HTML anchor carefully: the values must match.
The manual method has no extra plugin dependency, but it creates maintenance work. When you rename, add, remove, or reorder headings, you also need to update the linked list and its anchors.
Method 2: use the free VovaBlocks Table of Contents block
VovaBlocks includes a dedicated Table of Contents block in its free version. You do not need VovaBlocks Pro to use it.
The block generates on-page navigation from the headings in your post or page. That removes the need to create every anchor and list item by hand, which is especially useful for tutorials, documentation, and other content that changes over time.
1. Install VovaBlocks Free
In the WordPress dashboard, open Plugins → Add New Plugin and search for “VovaBlocks.” Install the plugin and activate it. You can also download VovaBlocks Free from WordPress.org.
2. Insert the Table of Contents block
Edit the post or page, open the block inserter, and search for Table of Contents. Add the VovaBlocks block near the beginning of the content—usually after the introduction and before the first main section.
The block reads the article headings and turns them into clickable on-page navigation. You can continue working in the familiar WordPress block editor.
3. Review the result and publish
Check that the headings are concise and follow a logical hierarchy, then preview the page. Test a few links on both desktop and mobile before publishing.
The main advantage of this approach is maintainability: the table of contents is generated from the content structure instead of being a second outline that you must keep in sync manually.
Manual anchors or VovaBlocks?
| Approach | Best for | Ongoing work |
|---|---|---|
| Manual anchor links | A short page with a stable structure | Update anchors and links whenever the outline changes |
| VovaBlocks Table of Contents | Long posts, guides, and frequently edited content | Keep the article headings clear and structured |
Use manual anchors when you need a small, custom set of page jumps. Use the VovaBlocks block when you want a complete table of contents without managing every link yourself.
A table of contents should reduce effort for the reader, not add another layer of clutter. Start with a strong outline, keep labels concise, and choose the method that matches how often the article will change.
If you want WordPress to generate the navigation for you, install VovaBlocks Free and add the Table of Contents block to your next long-form post.